
Last updated September 24, 2026
Attic Insulation Maintenance Checklist for Converse Homeowners
Blown fiberglass settled to an effective R-15 in 73% of attics re-inspected five years after installation in a 2019 Oak Ridge National Laboratory field study - not because the material failed, but because nobody checked whether the original depth was installed correctly in the first place. In Converse, where summer attic temperatures regularly exceed 140°F and humidity pushes 75% from May through October, that unchecked settling translates directly into cooling loads your HVAC wasn’t sized for. This checklist - and our Complete Guide to Insulation in Converse - are built around what you can see, smell, and measure, not vague reminders to “check your insulation.” You’ll learn how to verify installed R-value with a ruler and a manufacturer’s chart, read the four moisture signatures our climate produces, and time your inspections to the months when catching problems actually saves money.
Quick Answer
Attic insulation maintenance in Converse means checking insulation depth against manufacturer specs every April, inspecting for moisture staining and pest activity every October, and verifying hatch weatherstripping and attic ventilation twice yearly. Most homeowners who follow a structured annual inspection catch insulation degradation before it shows up as a $400 summer utility bill. The full checklist below covers what to measure, what to look for, and when to call for help.
Table of Contents
- How to Measure Your Current R-Value with a Depth Stick
- Four Moisture Indicators Specific to Converse’s Climate
- Attic Hatch Weatherstripping and R-Value
- Reading Pest Evidence in Your Attic
- Seasonal Timing Calendar for Converse Homeowners
- Attic Ventilation and Air Sealing Check
- Common Mistakes to Avoid
- When to Call a Professional
- Frequently Asked Questions
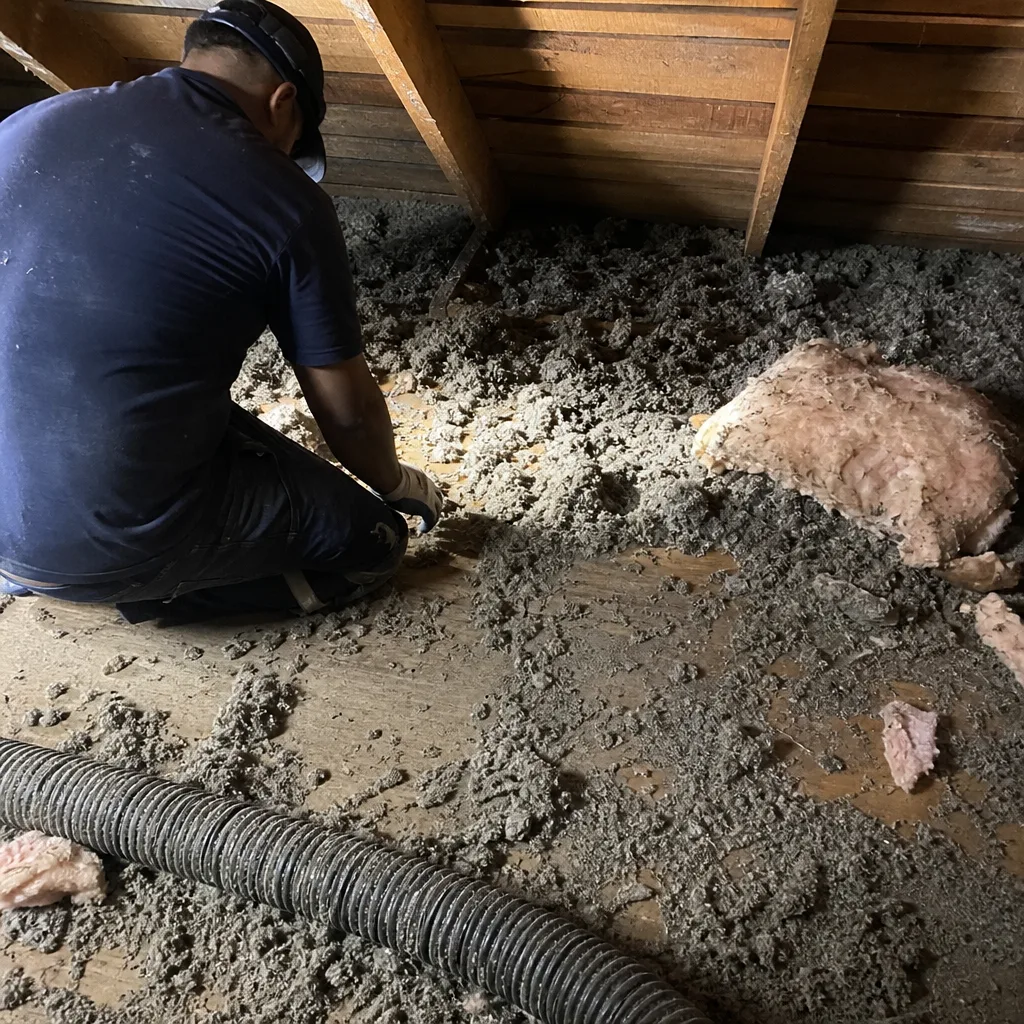 Before
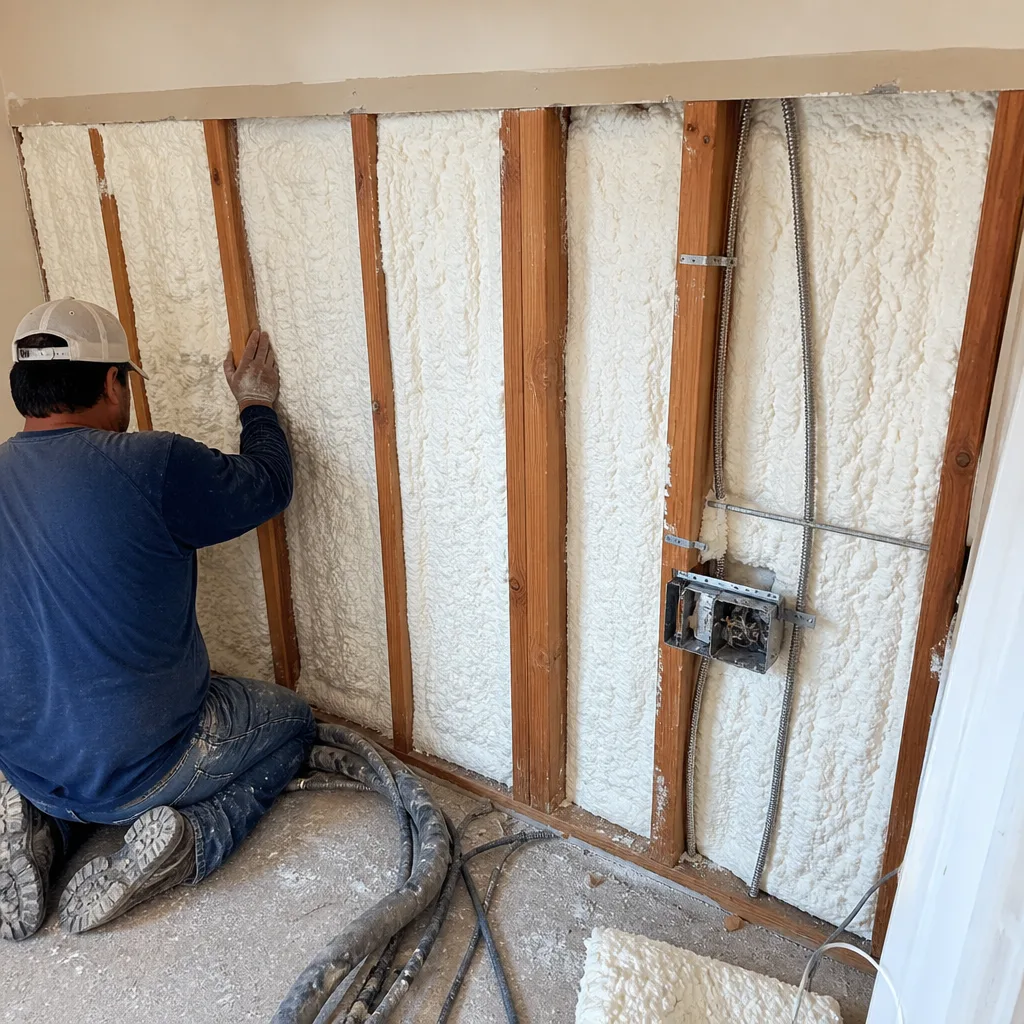 After
AfterHow to Measure Your Current R-Value with a Depth Stick
Most Converse homeowners guess at their insulation level. We don’t recommend guessing. R-value - the measure of thermal resistance - depends on installed depth and material type, and both change over time.
Here’s how to get an actual number:
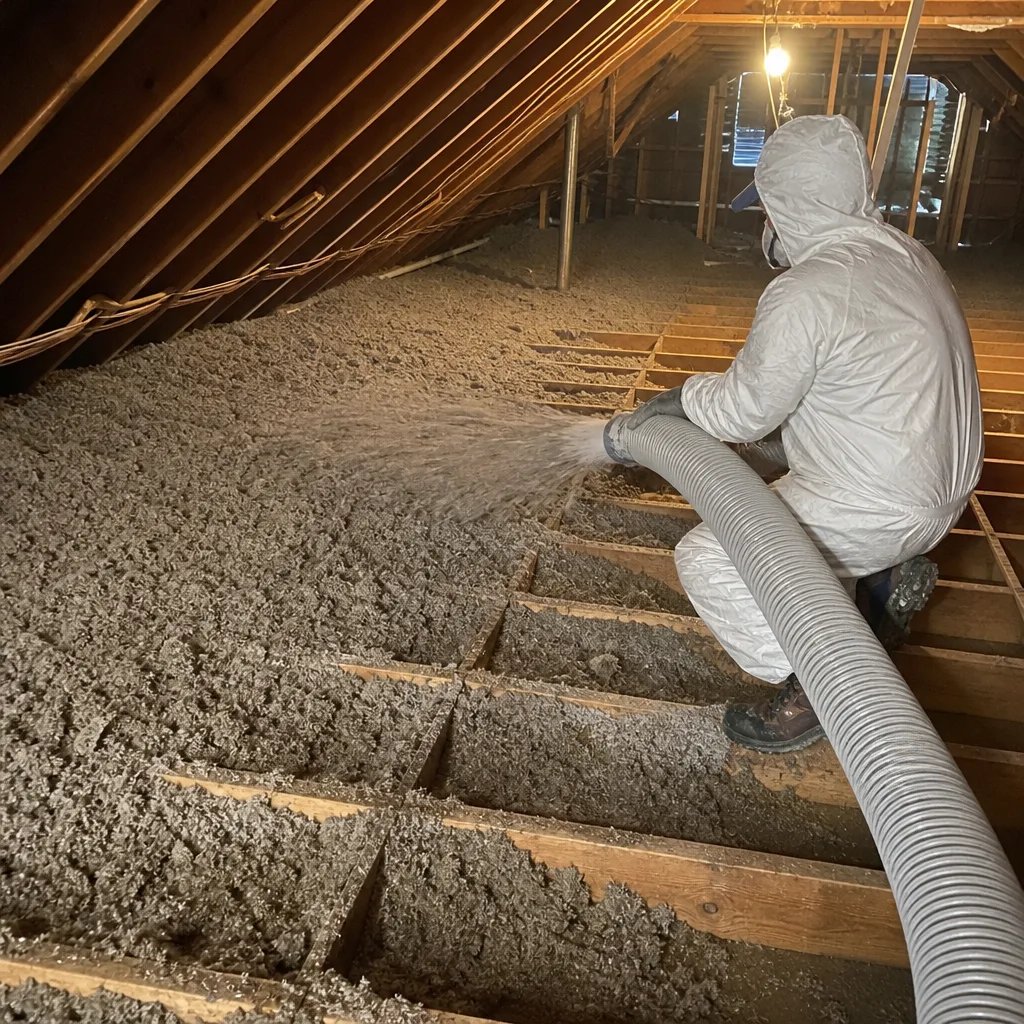
- Identify your insulation material. Blown fiberglass looks like cotton candy; blown cellulose is gray and denser; batts are paper-faced or unfaced rectangles. Check for manufacturer labels on batts, or note the color and texture for blown materials.
- Find the manufacturer’s installed-depth chart. Major brands publish these: Owens Corning, Johns Manville, and Knauf all list R-value per inch for their products. If you can’t identify the brand, use industry-standard values - blown fiberglass averages R-2.5 per inch, blown cellulose R-3.2 per inch, and fiberglass batts R-3.1 to R-3.7 per inch depending on density.
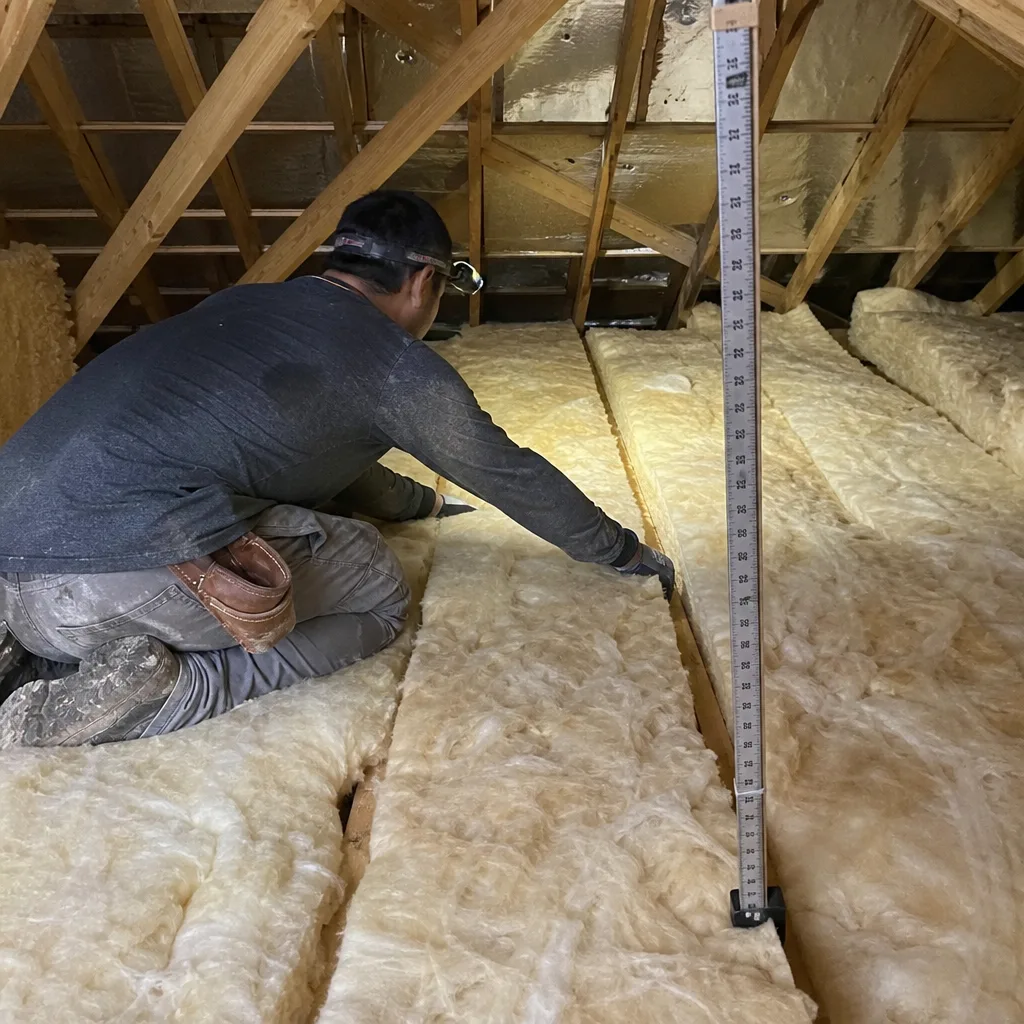
- Measure at multiple points. Use a wooden ruler or yardstick, not a tape measure that bends. Measure at the center of the attic, at each eave, and near any penetrations like chimneys or vent stacks. Record every reading. In Converse, we’ve seen depth vary by 6 inches or more across a single attic due to wind washing at eaves or traffic compression near the hatch.
- Calculate effective R-value. Multiply average depth by R-value per inch. Compare to Attic Insulation in Converse recommendations: DOE suggests R-30 to R-60 for our climate zone, with R-38 as the practical minimum for existing homes.
- Look for settlement patterns. Uniform settlement across the attic suggests normal compression over time. Patchy settlement - deep in corners, thin in centers - indicates installation problems or subsequent disturbance.
That 2019 Oak Ridge study found the 73% settlement rate in attics where original depth was verified at installation. In Converse homes built between 2015 and 2025, we’ve measured attics where blown fiberglass installed at R-38 had settled to R-22 within four years because the contractor didn’t account for compression during the initial blow. The depth stick catches this before your utility bill does.
One more check: measure depth over top plates - the horizontal framing members where exterior walls meet the ceiling. Insulation often misses these spots entirely, creating thermal bridges that show up as cold stripes in winter infrared imaging. A proper measurement routine includes at least two top-plate readings per exterior wall.
Four Moisture Indicators Specific to Converse’s Climate
Converse sits in Bexar County’s humid subtropical zone. Summer dew points hover in the upper 60s, and attic moisture problems here don’t look like the dramatic leaks you see in rainy Seattle. They look like subtle, progressive damage that homeowners miss until insulation performance has dropped by a third.
Check for these four signatures during your October inspection:
- Staining on rafters and roof sheathing. Look for dark streaks running down the underside of rafters, especially on the north-facing slope where morning dew lingers longest. In Converse, these streaks often start at nail points - the steel conducts heat outward at night, creating localized condensation spots. Fresh staining feels slightly tacky; old staining is dry and powdery. Either means moist air is reaching the attic.
- Clumping at eave baffles. Fiberglass that should be fluffy and separated becomes matted and dense near ventilation intakes. This happens when humid outside air hits cooler attic surfaces and deposits moisture. Clumped insulation loses R-value - compressed fiberglass can drop to R-1.5 per inch - and the added weight stresses ceiling drywall below. In our Converse inspections, we find this most often in homes with bathroom fans vented into attics rather than through the roof.
- Rust on HVAC fasteners and metal ductwork. Check strap hangers, flex-duct connection collars, and any exposed sheet metal. Surface rust means repeated wet-dry cycles. In attics over 140°F, that moisture evaporates fast enough that homeowners never see standing water - but the oxidation record remains. We’ve replaced ductwork in Converse’s Topside Attic Insulation Converse home projects where rust had perforated flex-duct inner liners, dumping conditioned air into the attic for years.
- Condensation rings around supply boots. The metal boxes where HVAC supply lines penetrate ceiling drywall are thermal bridges. When attic air is humid and the supply boot is chilled by air conditioning, condensation forms on the attic side. Look for water stains on drywall around ceiling vents, or rust on the boot itself. This is often the first visible sign of attic moisture problems in newer Converse homes with tight building envelopes but incomplete air sealing.
If you find two or more of these indicators, the moisture source isn’t your roof - it’s air leakage from the conditioned space below. Warm, humid interior air is escaping through gaps around light fixtures, top plates, and chimney chases, then condensing on cooler attic surfaces. Adding insulation over this problem traps moisture and accelerates decay. The fix is air sealing first, then insulation replacement if the material is compromised.
Attic Hatch Weatherstripping and R-Value
The attic hatch is the largest unsealed penetration in most residential ceilings. A 22-by-30-inch hatch with no weatherstripping leaks as much conditioned air as a 4-inch round duct open to the attic. In Converse’s cooling-dominated climate, that’s expensive air you’ve already paid to dehumidify.
The zero-cost fix most homeowners miss: replace or supplement hatch weatherstripping and add rigid insulation to the hatch cover itself.
Weatherstripping inspection:
- Close the hatch on a piece of paper. Pull the paper out. If it slides freely with no drag, the seal is inadequate.
- Look for compression set in existing foam tape - the permanent indentation that means the material no longer springs back to fill gaps.
- Check for gaps at corners, where four straight pieces meet. Heat-sealed continuous gaskets perform better than butted corners.
- On pull-down stairs, inspect the folding joints. These rarely seal well; supplementary latch tension or magnetic stripping helps.
Hatch R-value upgrade:
Most attic hatches are 1/2-inch plywood or MDF - about R-0.6. Attach rigid foam board (polyiso at R-6 per inch, or XPS at R-5 per inch) to the attic side with construction adhesive and cap nails. A 2-inch layer brings the hatch to R-12 or better, reducing thermal bridging and condensation risk. In Converse, we’ve measured hatch surface temperatures 35°F different from surrounding drywall in summer - the infrared camera makes the problem unmistakable.
Document your fix. Photograph the before condition, the weatherstripping product used, and the installed rigid foam. This becomes part of your home’s maintenance record and supports resale disclosure if you sell.
Reading Pest Evidence in Your Attic
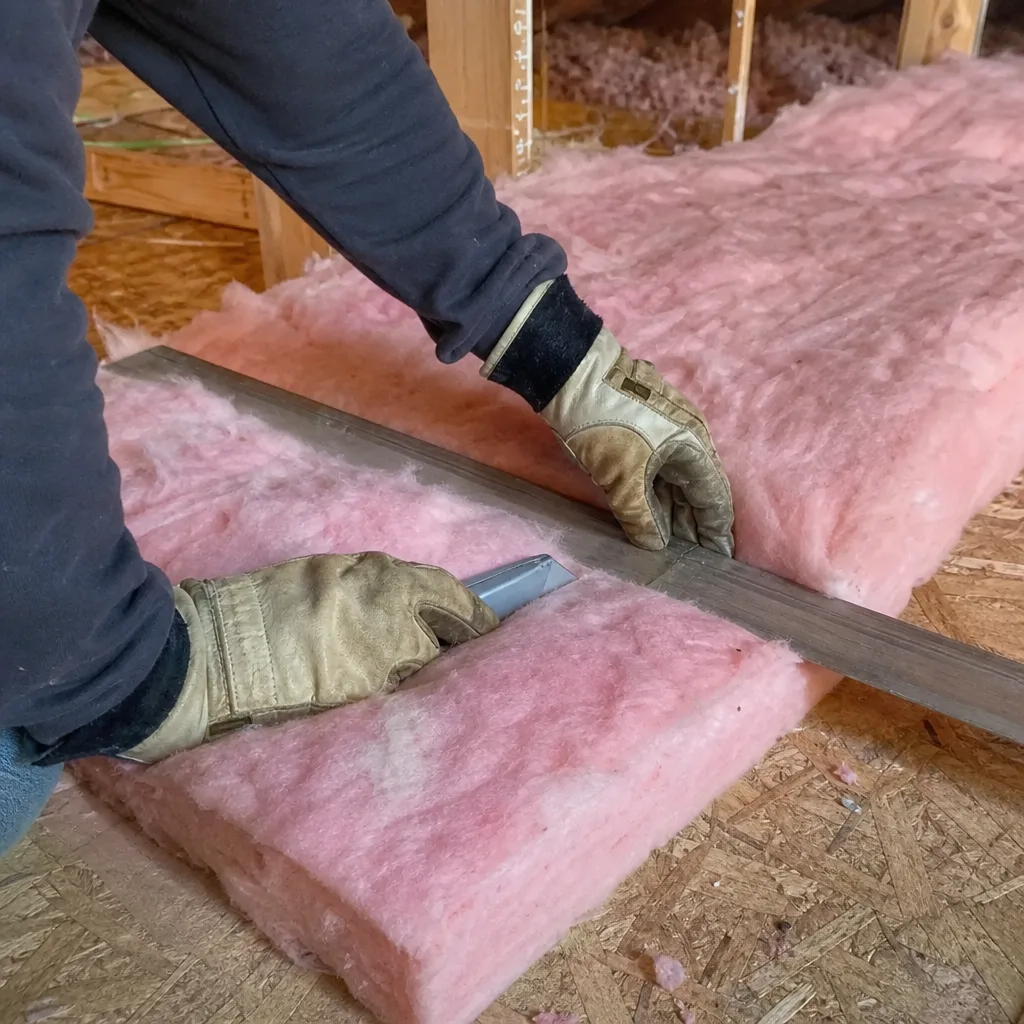
Insulation makes attractive nesting material. Different pests leave different signatures, and the required response varies significantly.
Rodent tunneling: Look for 2-inch diameter paths compressed through blown insulation, often following joist bays or electrical runs. Droppings are rice-grain sized and pointed at one end. Rodents tunnel for nesting and travel corridors; they don’t eat fiberglass, but their urine and feces contaminate it. In Converse, roof rat activity peaks in October and November as temperatures drop. Contaminated insulation requires removal and replacement - spot treatment doesn’t address the urine saturation. We also recommend sealing entry points at soffit vents, roof-wall intersections, and plumbing penetrations. Crawl Space Encapsulation & Vapor Barrier in Converse addresses the same principles at ground level.
Wasp nesting: Paper wasps build open, umbrella-shaped nests from chewed wood fiber. They prefer sheltered spots near attic vents or under eaves. The nest itself is visible and localized. After evening treatment when wasps are dormant, the nest can be removed and the surrounding insulation is usually undamaged. Check for secondary nests - wasps often build satellite colonies within 20 feet of the primary.
Mud dauber activity: These solitary wasps build tubular mud nests, often on joist undersides or along ductwork. They’re not aggressive and rarely damage insulation directly. However, their preferred nesting sites - cool, sheltered spots with nearby spider prey - often indicate air leaks where conditioned air escapes into the attic. The mud tubes are a diagnostic, not the main problem.
Squirrel caching: Look for concentrated nut and seed piles, often in corners or above warm ceiling areas. Squirrels don’t tunnel extensively but compress insulation where they nest. Their entry points are typically larger - 2-inch gaps at fascia boards or chewed vent screens.
Rule of thumb for Converse homeowners: if you find droppings or urine staining in more than 10% of the attic floor area, plan for full insulation removal, sanitization, and reinstallation. Partial replacement leaves contamination that continues to off-gas and attract new pests.
Seasonal Timing Calendar for Converse Homeowners
Converse’s climate calendar drives when inspection matters. Check at the wrong time and you miss the evidence.
April inspection - before cooling season:
- Measure insulation depth while attic temperatures are still tolerable (below 100°F). Record R-value calculations.
- Verify attic ventilation intake is unobstructed. Check soffit vents for paint overspray, insulation blockage, or wasp nests built during winter.
- Inspect HVAC ductwork for disconnected runs. The first cooling cycle will pressurize any leaks; finding them now prevents a month of conditioned air loss.
- Check for winter rodent entry. Roof rats seek attic warmth in December and January; April is when you’ll find the tunneling evidence before summer heat drives them out.
- Photograph conditions for year-over-year comparison.
October inspection - before heating season:
- Run the moisture indicator checklist from Section 2. Summer humidity has had five months to leave its signature.
- Check hatch weatherstripping after summer expansion-contraction cycles. Foam tape degrades fastest in high heat.
- Inspect for wasp nests abandoned after summer. Old paper nests are dry and brittle; remove before they attract carpet beetles or other secondary pests.
- Verify bathroom and kitchen exhaust fans terminate through roof or gable, not into attic space. Fall temperature differentials make condensation from vented moisture immediately visible.
- Schedule professional air sealing if moisture indicators exceed your comfort threshold. Sealing in fall means the work is tested under winter stack effect - the pressure difference that drives warm air upward through ceiling penetrations.
Converse typically sees its first sustained cool front in late October. The stack effect strengthens as indoor-outdoor temperature differences increase. Air sealing completed before this transition delivers immediate, measurable reduction in heat loss - and in our experience, the blower-door test numbers prove it.
Attic Ventilation and Air Sealing Check
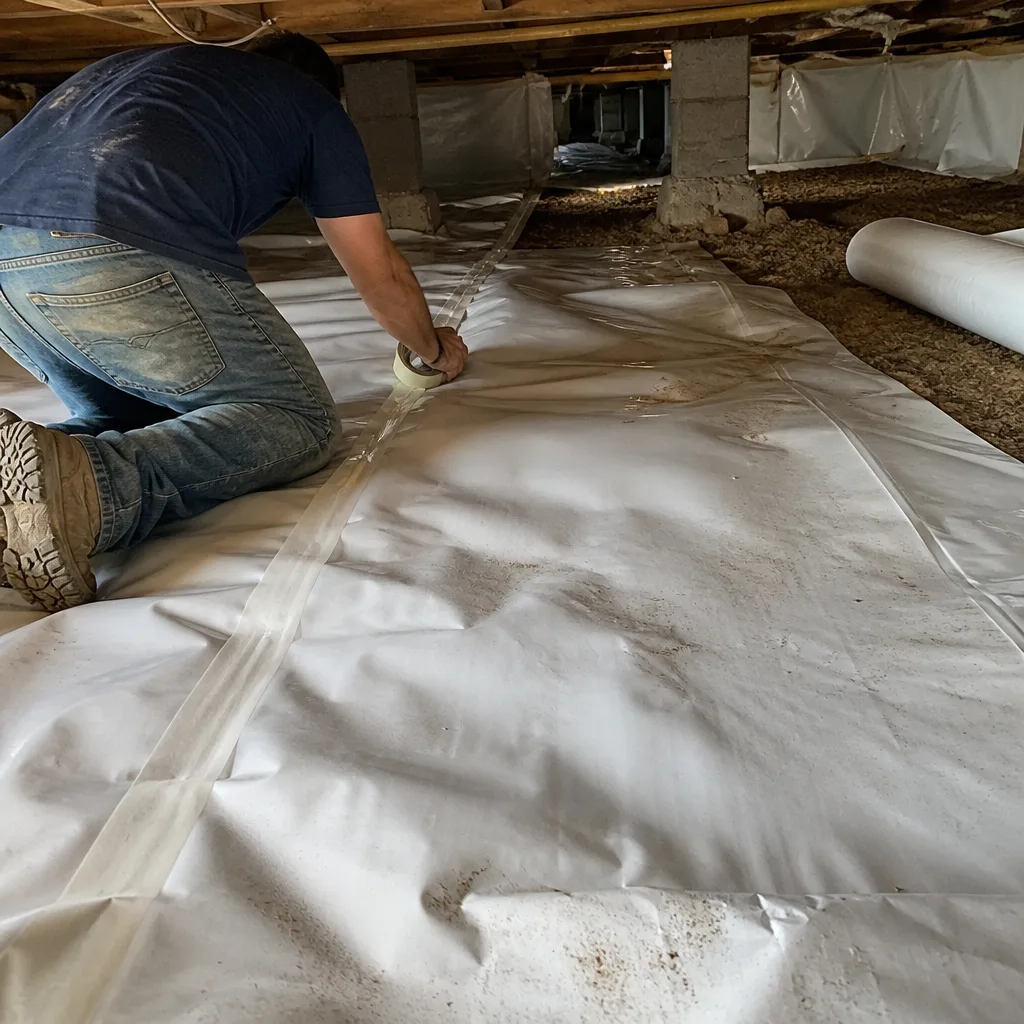
Ventilation and air sealing work together, not in opposition. The goal is to ventilate the attic space with outside air while preventing conditioned interior air from escaping into it. In Converse, this balance is particularly important because our cooling loads are extreme and our humidity is persistent.
Ventilation verification:
- Net free vent area: Measure your intake (soffit) and exhaust (ridge, gable, or powered) vents. The 1:300 rule - 1 square foot of net free vent area per 300 square feet of attic floor - is the IRC minimum. In practice, Converse homes benefit from 1:150 or better, especially with dark shingle roofs that absorb more solar heat.
- Intake-exhaust balance: Exhaust vents without adequate intake create negative pressure that pulls conditioned air through ceiling leaks. If your soffit vents are blocked by insulation, the ridge vent is working against you, not for you. Install baffles - cardboard or foam channels that maintain a 2-inch air gap above insulation at eaves.
- Powered ventilation: Attic fans can help but often create the same negative-pressure problem. If you have a powered vent, verify it has a humidistat as well as a thermostat, and consider whether the electricity it consumes offsets the cooling load reduction. In our Converse audits, we frequently find attic fans pulling 300 CFM through ceiling leaks - that’s your conditioned air.
Air sealing priorities:
The largest leaks are usually the easiest to find. Top plates - where interior walls meet the ceiling - are gaps in the drywall air barrier that run the full length of every wall. Can lights, especially older non-IC fixtures, are essentially holes in your ceiling. Chimney chases, plumbing vent stacks, and electrical penetrations complete the typical list.
We seal these with targeted methods: fire-rated caulk and intumescent sealant around chimneys, spray foam for larger gaps, and airtight recessed light covers for can fixtures. The work is documented with before-and-after blower-door testing - a pressurization reading that shows, in one number, how much air your building envelope was losing. Spray Foam Insulation in Converse provides both air sealing and insulation in one application for complex geometries.
A typical Converse home built between 2015 and 2025 tests at 3,500 to 5,500 CFM50 before air sealing and 2,000 to 3,000 after. That difference is conditioned air you’re no longer heating and cooling twice.
Common Mistakes to Avoid
- Adding insulation over unsealed air leaks. This traps moisture and creates a perfect habitat for mold. In Converse’s humidity, we’ve removed insulation that was wet to the touch underneath but appeared dry on top. The homeowner had added R-30 over existing R-19, sealing the leak path and the moisture inside.
- Compressing insulation to fit more in. Fiberglass batts lose R-value when squeezed into joist bays tighter than their labeled thickness. A batt rated R-19 at 6.25 inches compressed to 5.5 inches performs at approximately R-17. The extra half-inch of space costs more than the lost performance.
- Ignoring the hatch. Homeowners who meticulously inspect insulation depth across the attic floor walk past a 2-square-foot uninsulated hole. The infrared camera doesn’t lie - the hatch glows blue in summer and red in winter.
- Checking only in mild weather. Moisture evidence is most visible when temperature differentials are strongest. An October inspection after the first cool front reveals condensation patterns invisible in May.
- Treating all pest evidence the same. Wasp nests require localized removal; rodent contamination requires full insulation replacement. Guessing wrong means recurring problems and wasted money.
- Not documenting readings. Without last year’s depth measurements and photos, you can’t distinguish normal settlement from new compression or disturbance. A three-year photo record is worth more than a single thorough inspection.
When to Call a Professional
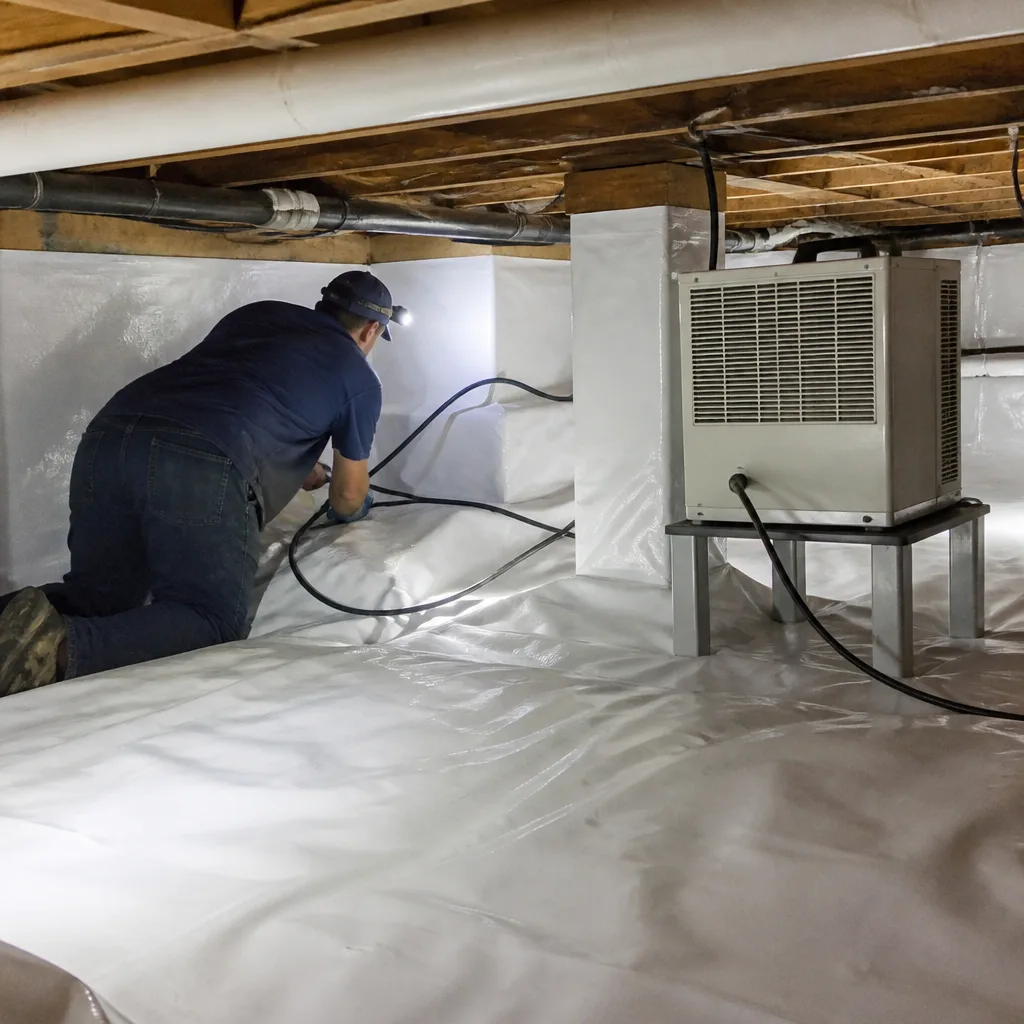
Some conditions exceed homeowner-level intervention. Call for professional assessment if you find: moisture staining on more than 20% of roof sheathing; rodent contamination with visible droppings across the attic floor; insulation depth below R-22 anywhere in the attic; or any electrical wiring buried in insulation (a fire hazard that requires electrician coordination). We also recommend professional help for air sealing - the work requires attic access during uncomfortable temperatures, specialized materials for fire-rated penetrations, and blower-door verification that the sealing was effective. See our DIY vs Professional Insulation: The Converse Homeowner’s Decision Guide for help deciding.
Topside Attic Insulation Converse offers free estimates in Converse - call (830) 420-0953. Every estimate includes a written scope and written price before any work starts, plus a Documented Photo Record of conditions found. On applicable jobs, we provide before-and-after blower-door numbers so you can verify the air-sealing result yourself.
Frequently Asked Questions
Twice yearly: once in April before cooling season, and once in October before heating season. April checks catch ventilation blockages and winter pest entry while attic temperatures are still manageable. October checks reveal moisture signatures left by summer humidity. Call (830) 420-0953 if either inspection reveals conditions you’re not comfortable addressing yourself - estimates are free.
R-38 is the practical minimum for existing homes in our climate zone, per DOE guidance. New construction in Converse should target R-49 or higher. If your depth-stick measurements calculate below R-38, you’re paying more for cooling than necessary. Most attic insulation jobs in a Converse home this size run between $1,800 and $3,400 for blown fiberglass to R-38, depending on accessibility and prep work needed.
Only if the old insulation is dry, uncontaminated, and uncompressed. In Converse, we find that roughly 40% of attics with existing blown fiberglass have localized moisture damage or rodent contamination that makes overlay inappropriate. The only way to know is inspection - lifting insulation in multiple spots to check the condition beneath. If you find clumping, staining, or droppings, remove and replace rather than overlay.
Condensation occurs when warm, moist air contacts surfaces below the dew point. In Converse, this happens most in October and November, when nighttime attic temperatures drop rapidly but interior humidity remains elevated from summer habits. The stack effect also strengthens in fall, pulling more conditioned air through ceiling leaks. The solution is air sealing at the ceiling plane, not additional ventilation - ventilation without sealing just gives the moisture more outside air to condense against.
Turn the fan on and check for air movement at your attic hatch - use a smoke pencil or even a strip of toilet paper. If the paper pulls toward the attic, your fan is creating negative pressure that’s sucking conditioned air through ceiling leaks. In our Converse audits, we frequently recommend disconnecting attic fans and improving passive ventilation instead. The electricity savings plus reduced air leakage typically outperform powered ventilation.
Air sealing stops air movement; insulation slows heat transfer. They’re complementary but not interchangeable. A well-insulated but leaky attic still loses conditioned air; a well-sealed but underinsulated attic still gains heat through conduction. In Converse’s climate, the correct sequence is seal first, then insulate. We will never blow insulation over an unsealed attic floor - the trapped moisture creates problems that cost more than the skipped sealing step saved.
The Bottom Line
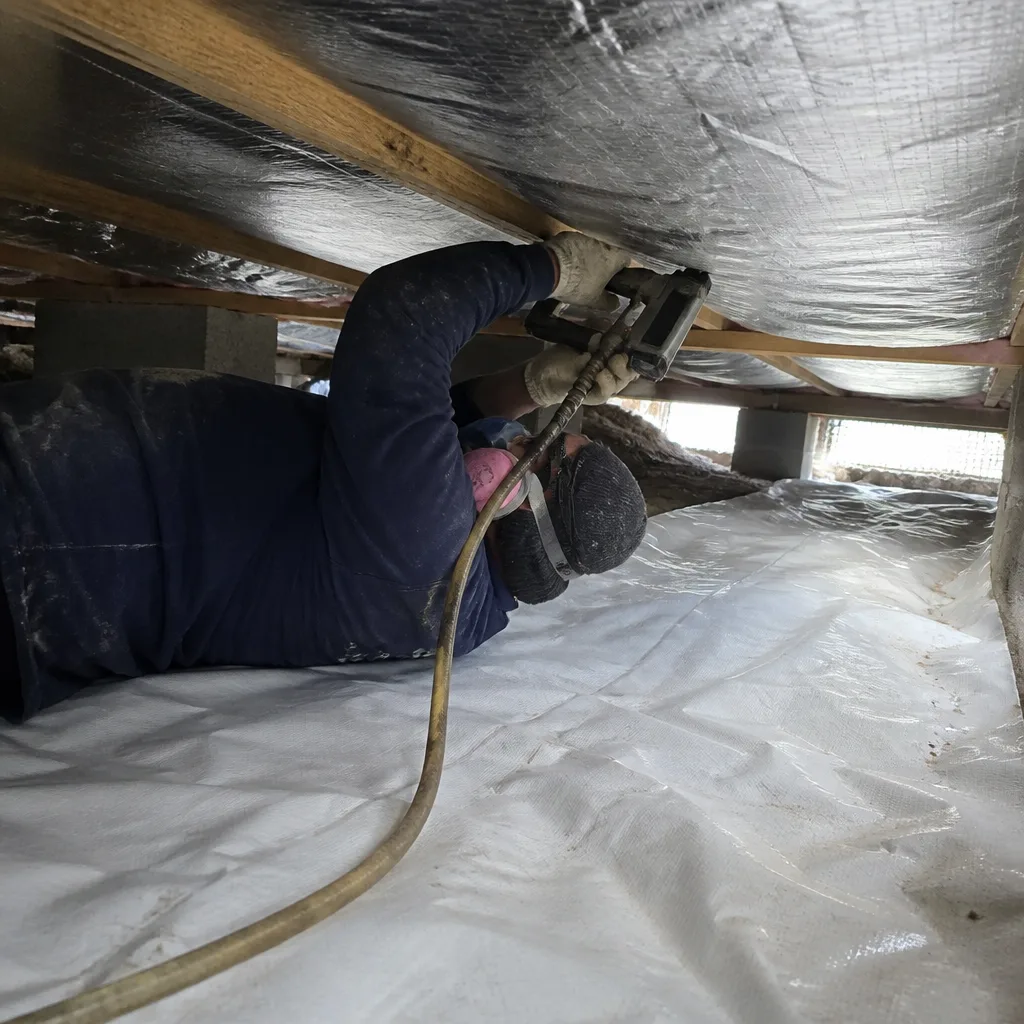
Attic insulation maintenance isn’t a single task - it’s a sequence of checkable, fixable events that unfold over years. The Converse homeowners who avoid surprise utility spikes are those who measure depth with a ruler, read moisture signatures in October, and fix hatch weatherstripping before it becomes a thermal bridge. This checklist gives you the inspection sequence; the seasonal calendar tells you when to run it. Document what you find, compare year over year, and know that professional help is available when conditions exceed comfortable DIY scope. For additional tips, explore our more guides & resources. The cost of inspection is a ladder and an hour; the cost of missing settlement or moisture is a new insulation job, possible drywall repair, and months of elevated utility bills.
Written by Wes Okafor, Owner at Topside Attic Insulation Converse, serving Converse since 2016.