
Last updated September 24, 2026
Insulation Warning Signs: A Converse Homeowner’s Reference Guide
A hot second-floor ceiling in July is not a warning sign. It’s a late-stage symptom. The actual warning signs appear six to eighteen months earlier as minor utility bill drift, and most Converse homeowners never recognize them as insulation failures until the damage is compounding. In The Complete Guide to Insulation in Converse, we pair every visible or tactile symptom with the specific measurement that turns suspicion into a documented problem, because a homeowner who walks away with a number can make a repair decision; one who walks away with a description cannot.
Quick Answer
The earliest insulation warning signs in Converse homes are utility bill drift measured in kWh per cooling degree day, not raw monthly cost; indoor surface temperatures more than 5°F below ambient air temperature; and blower-door readings above 7 ACH50 for homes built 1980-2005. Visible symptoms like hot ceilings, cold walls, and drafty rooms typically appear only after these measurable thresholds have been crossed for multiple seasons.
Table of Contents
- Utility Bill Drift: The First Warning Sign Nobody Sees
- Surface Temperature Readings: What Your Walls Are Actually Telling You
- Air Leaks vs. Insulation Deficiency: Two Problems That Look Identical
- Converse’s 1980s-2000s Tract Homes: Warning Signs in the Local Building Stock
- Thermal Imaging: What It Shows, What It Misses, and When It Lies
- Self-Triage: What You Can Fix, What Requires a Contractor, What Needs a Blower-Door Test
- Common Mistakes to Avoid
- When to Call a Professional
- Frequently Asked Questions
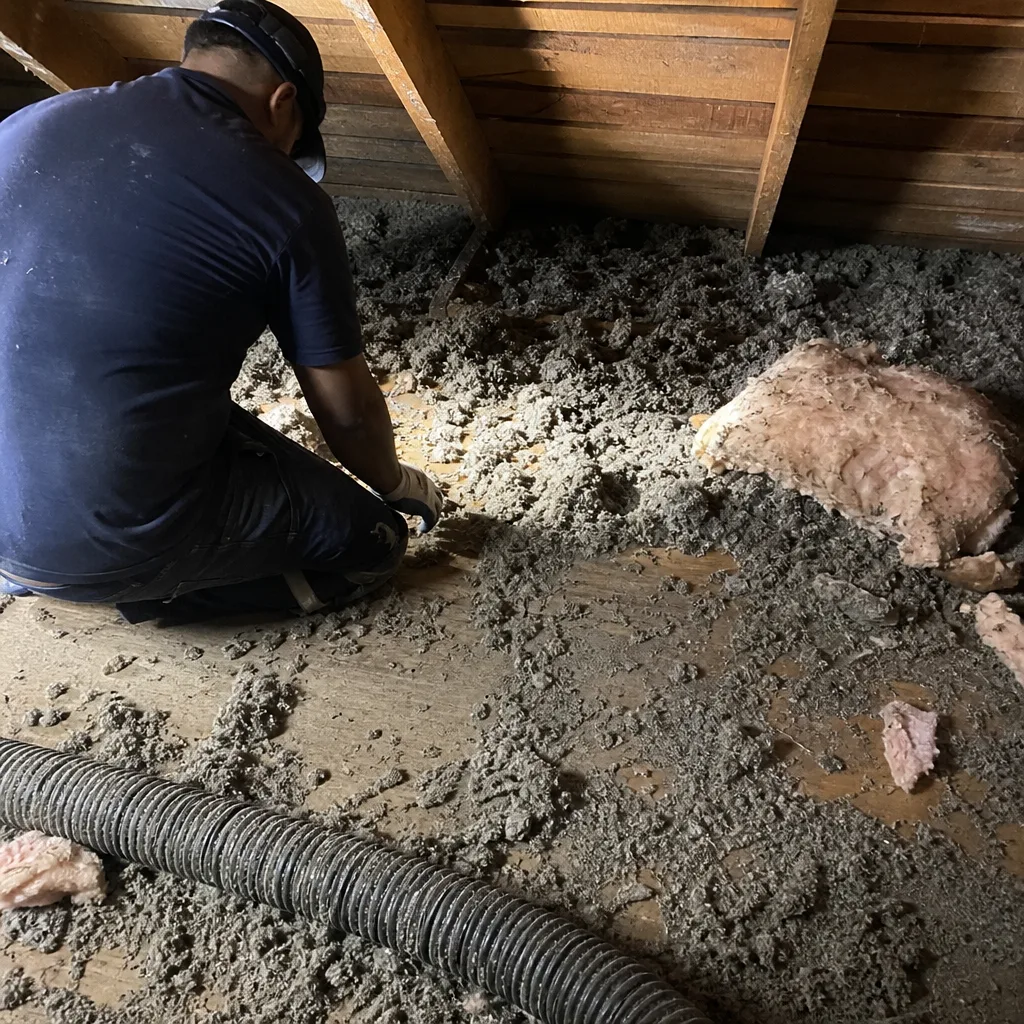 Before
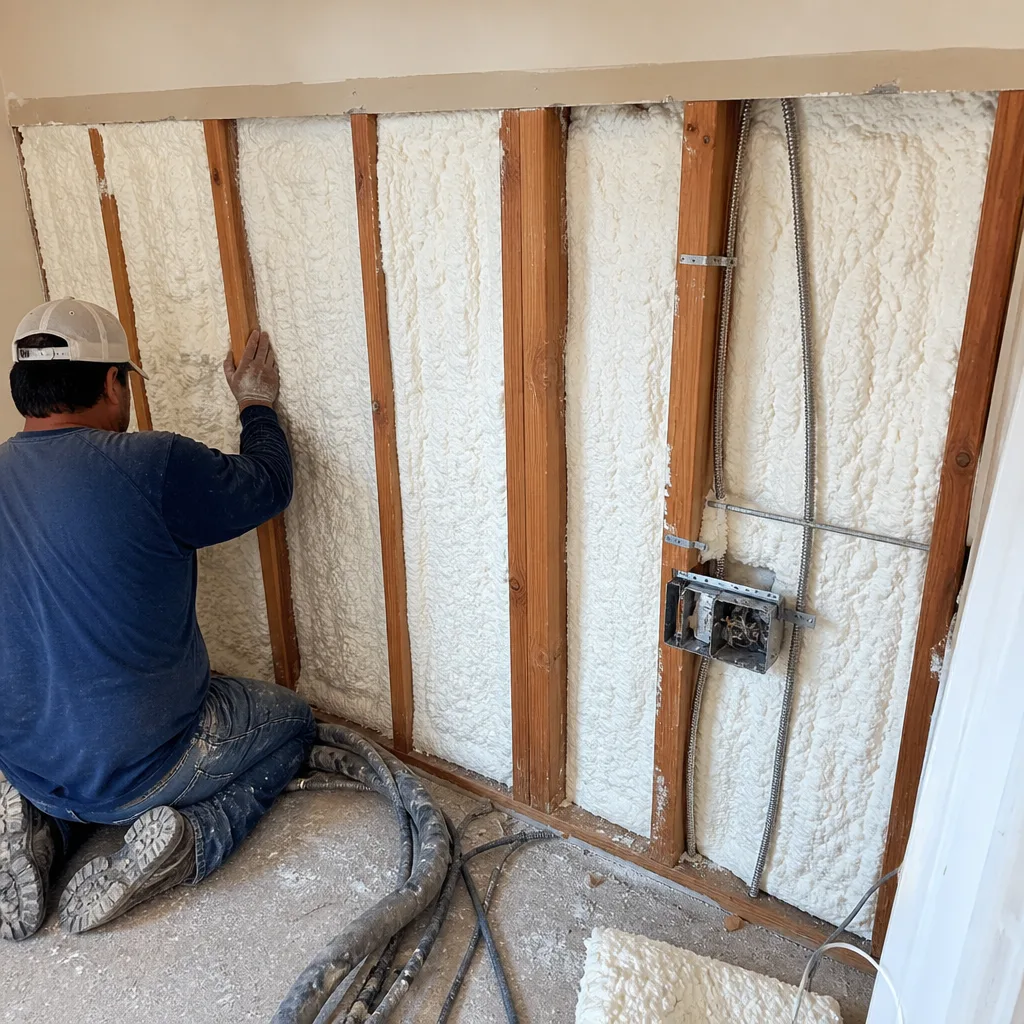 After
AfterUtility Bill Drift: The First Warning Sign Nobody Sees
Most Converse homeowners open their CPS Energy bill and look at the dollar total. The number that matters is kWh per cooling degree day, a ratio that strips out weather variation and rate changes to show whether your home is becoming less efficient over time.
Here’s how to calculate it. Take your July kWh usage from two years ago and divide by that month’s cooling degree days (available from NOAA or your utility portal). Do the same for last July. If the ratio has risen more than 10%, your building envelope is degrading, and insulation or air sealing is the likely cause. We’ve seen this pattern in hundreds of Converse homes: a slow creep from 0.35 kWh/CDD to 0.45 kWh/CDD over three summers, with the homeowner blaming rate hikes until the ceiling finally registers 94°F on an August afternoon.
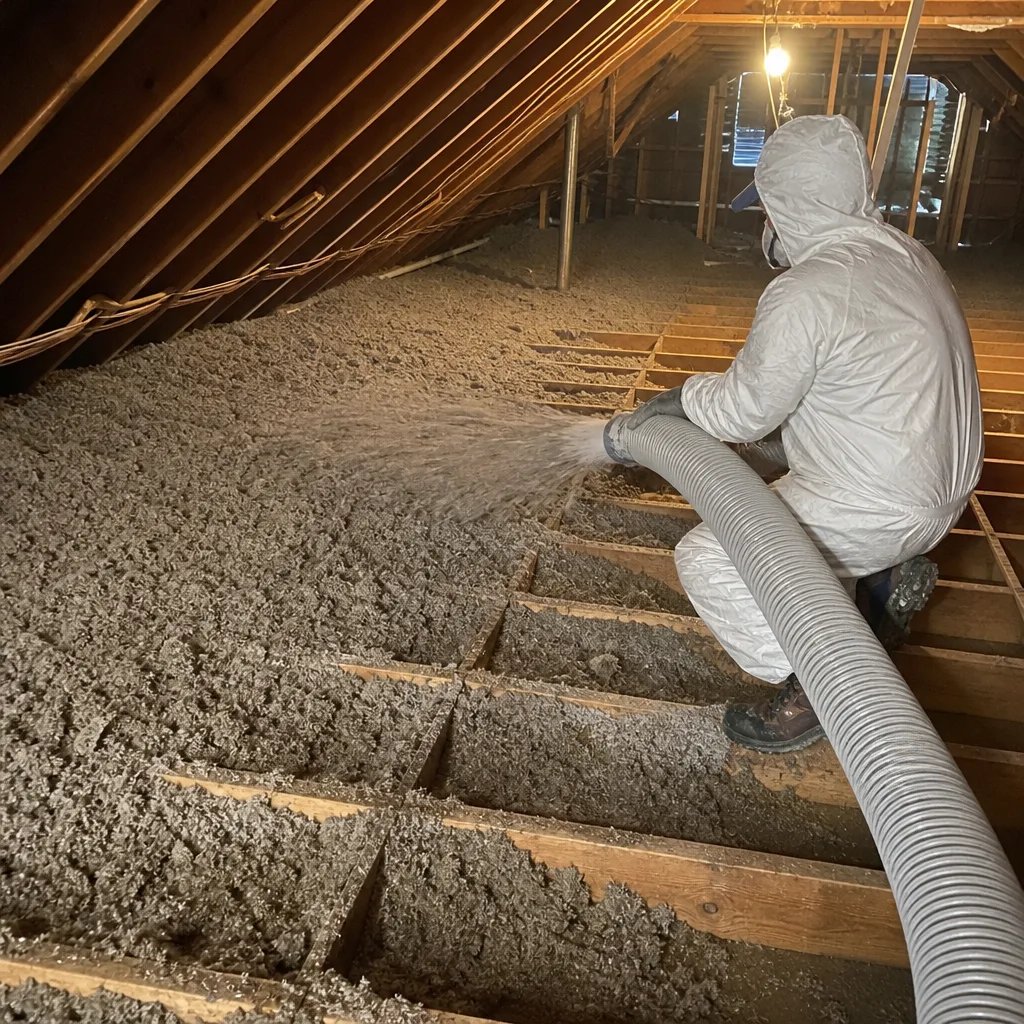
The degradation sources are usually specific and local. In Converse’s climate zone, with roughly 2,800 cooling degree days annually, attic insulation settles and compresses faster than in cooler regions, which is why we recommend our Attic Insulation Maintenance Checklist for Converse Homeowners for staying ahead of this compression. Blown fiberglass in a vented attic loses 10-15% of its labeled R-value to wind washing, the movement of air through loose-fill that carries heat directly to the drywall below. Air leaks at top plates, the horizontal framing members where interior walls meet the ceiling, expand seasonally as framing lumber cycles through our humidity swings.
We document this on every Attic Insulation in Converse job with before-and-after blower-door numbers. A typical 1980s Converse ranch reads 8-12 ACH50 before work and 3-5 ACH50 after proper air sealing and insulation. The kWh/CDD ratio usually drops within the first billing cycle, though we ask homeowners to track a full year for confirmation.
Track these numbers monthly:
- kWh usage from your utility bill
- Cooling degree days for that billing period from NOAA
- The ratio, plotted on a simple spreadsheet or even graph paper
- Any anomalies: house guests, new appliances, thermostat changes
A rising trend line is your earliest actionable warning. Everything else in this guide describes symptoms that appear after this number has already moved.
Surface Temperature Readings: What Your Walls Are Actually Telling You
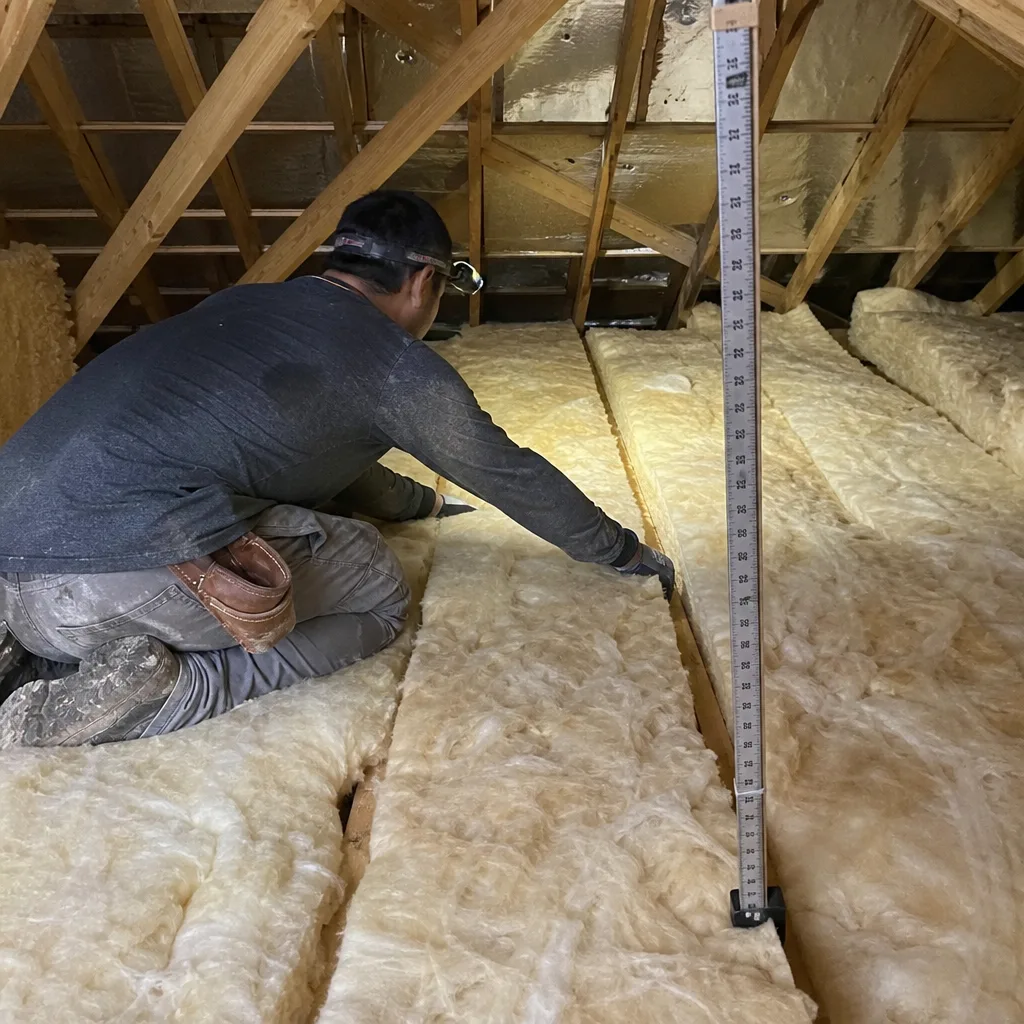
An infrared thermometer, the handheld gun type available at any hardware store for $25-$40, will tell you more about your insulation than a walk-through with a contractor. The measurement protocol is simple, but the interpretation requires context.
Wait for a day when outdoor temperature differs from indoor setpoint by at least 20°F. In Converse, this means early morning in January or mid-afternoon in August. Point the thermometer at interior walls and ceilings, holding it perpendicular to the surface from 12-18 inches away. Record the reading, then record the ambient air temperature three feet from that surface.
The diagnostic threshold: interior surfaces should read within 3°F of ambient air temperature. A reading 5°F or more below ambient indicates either missing insulation, compressed insulation, or thermal bridging, the direct conduction of heat through framing members that bypasses the insulation batts between them.
Where to measure matters. In Converse’s common slab-on-grade ranches with pier-and-beam additions, we find the largest differentials at:
- Ceiling corners where attic insulation was blown to uniform depth but never lifted to full depth at the eaves
- Interior walls adjacent to unconditioned garage space, especially in homes with balloon-framed walls that lack top plate blocking
- Floor perimeters in pier-and-beam additions, where crawl space ventilation carries outdoor air directly beneath the subfloor
- Ceiling beneath attic access hatches, which are rarely insulated to the same depth as the surrounding attic
Surface temperature mapping also reveals air leaks, but with an important distinction. Insulation gaps create steady, predictable cold or hot patches. Air leaks create streaking patterns, irregular fingers of temperature variation that follow the path of moving air. We’ve mapped homes in the Woodlake and Converse Heights areas where homeowners had caulked visible gaps around windows but missed the top plate leaks that showed as vertical streaks on interior walls, visible only with the thermometer held at oblique angles.
Document your readings with photos showing the thermometer display against the surface. This becomes your baseline if you make improvements, and your evidence if you hire a contractor.
Air Leaks vs. Insulation Deficiency: Two Problems That Look Identical
The most expensive mistake in home performance is treating an air leak as an insulation problem, or vice versa. They produce nearly identical occupant complaints: drafts, uneven temperatures, high bills, rooms that won’t hold their setpoint. The repair paths diverge completely, and sending insulation where sealing is needed wastes material and money.
Air leaks are driven by pressure. Stack effect, the natural rise of warm air that pulls replacement air through lower building leaks, dominates in winter. Wind pressure dominates on our spring gust days. Mechanical pressure from duct imbalance, especially common in Converse homes with added-on rooms served by undersized return air paths, operates year-round. The diagnostic signature is transient: symptoms that worsen on windy days, or in specific rooms when the HVAC blower cycles on.
Insulation deficiency is driven by temperature difference. The diagnostic signature is steady: the same room is always too hot or too cold, regardless of wind or HVAC operation. The problem is conductive heat flow through insufficient or degraded material, not convective air movement.
The definitive separation tool is a blower-door test, a pressurization reading that shows, in one number, how much air your building envelope is losing. We conduct these on every applicable job at Topside Attic Insulation Converse home. The test depressurizes the house to 50 Pascals below outdoor pressure and measures airflow in cubic feet per minute. That CFM50 converts to ACH50, air changes per hour at 50 Pascals, which normalizes for house volume.
Benchmarks for Converse’s housing stock:
- Pre-1980 homes with minimal original sealing: 12-20 ACH50
- 1980-2005 tract homes with typical builder-grade sealing: 7-12 ACH50
- 2005-2015 homes with code-mandated sealing but often missed details: 5-8 ACH50
- Post-2015 homes with tested compliance: 3-5 ACH50
- Target after professional air sealing and insulation: 3-5 ACH50 regardless of vintage
A homeowner with steady room-temperature complaints and a blower-door reading below 5 ACH50 likely has an insulation problem, not an air leak problem. A homeowner with transient, weather-dependent complaints and a reading above 8 ACH50 needs sealing first, then insulation. We’ve seen Converse homeowners spend $4,000 on additional attic insulation when the real problem was a disconnected return duct in the crawl space, a $400 repair that dropped their ACH50 by 40%.
The Haven Standard requires us to seal first, then insulate, in that order. We will never blow insulation over an unsealed attic floor. Air sealing of top plates, can lights, and penetrations is completed before any insulation is added, because insulation over an air leak is simply a filter that catches the dirt carried by the moving air.
Converse’s 1980s-2000s Tract Homes: Warning Signs in the Local Building Stock
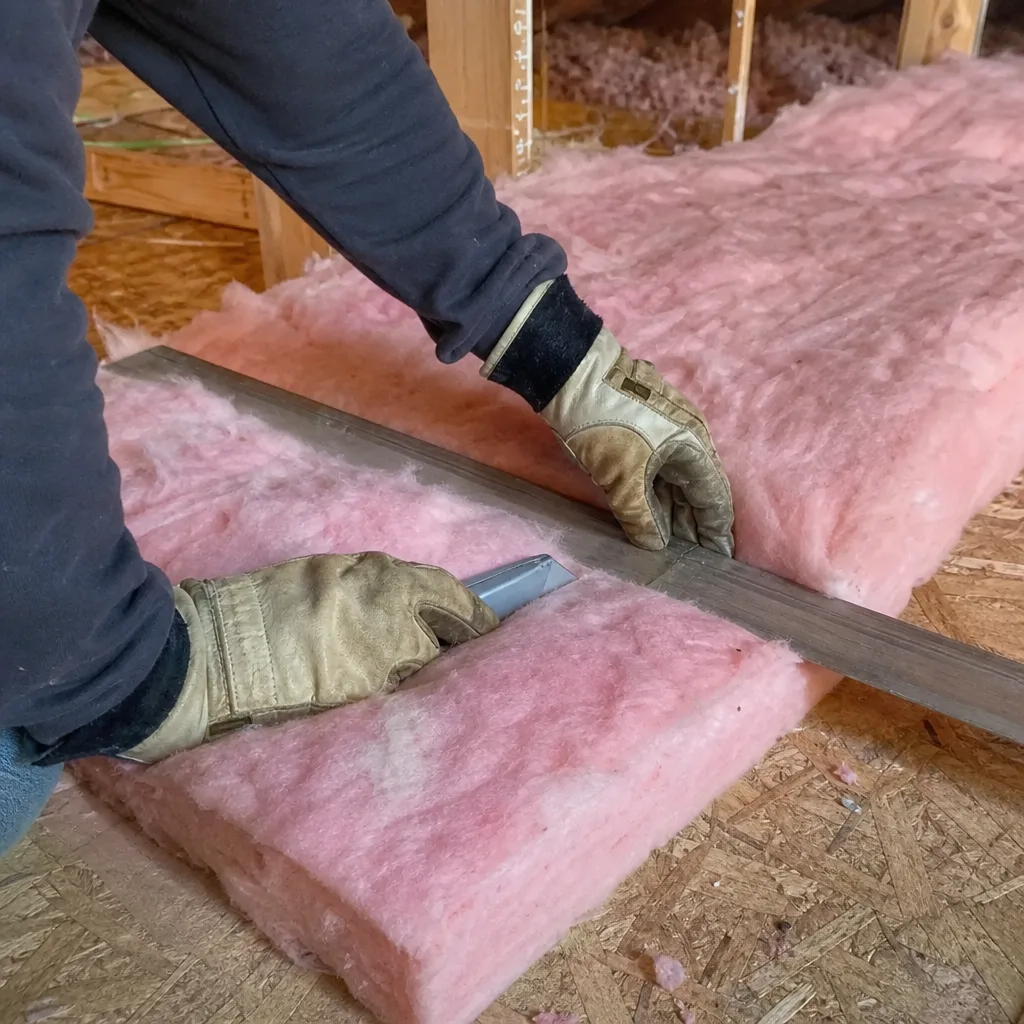
Converse’s fastest-growing construction periods, 1983-1989 and 1998-2007, produced specific building assemblies that fail in predictable patterns. Recognizing these patterns prevents misdiagnosis and targets repair spending.
Balloon-framed interior walls. Many Converse homes built in the 1980s used balloon framing for interior partitions, meaning studs run continuously from floor to ceiling without the horizontal blocking that would stop air movement. The warning sign is a cold interior wall in winter, especially walls that don’t face outdoors. The cause is attic air dropping through the stud bay, a chimney effect that bypasses any insulation in the ceiling above. The repair is dense-pack cellulose or injection foam in the wall cavity, preceded by blower-door-directed air sealing. We’ve treated this in dozens of homes near Judson High School and the FM 78 corridor.
Single-pane jalousie window replacements with uninsulated rough openings. Original aluminum jalousie windows were replaced with vinyl single-hungs in many 1980s Converse homes during the 2005-2015 window rebate programs. The replacement windows themselves are often adequate, but the rough openings, the framed gaps between window frame and wall studs, were rarely insulated with expanding foam. The warning sign is cold vertical strips at window jambs, visible with an IR thermometer even when the glass itself reads normally. The repair is removal of interior trim, foam injection, and trim replacement, a half-day job per window.
Pier-and-beam additions attached to slab originals. Common in the 1990s and 2000s as homeowners expanded ranches without matching the foundation type. The addition has a vented crawl space; the original has a slab. The warning sign is a dramatic temperature step at the threshold between original and addition, especially in summer when the crawl space heats to 95°F and conducts through the uninsulated floor. The repair is Crawl Space Encapsulation & Vapor Barrier in Converse, sealing the crawl space vents and installing a continuous vapor barrier on the ground and up the walls, followed by insulation at the band joist or full floor assembly depending on access.
Attic kneewalls in bonus rooms. The 1998-2007 boom included many homes with upstairs bonus rooms over garages, with attic kneewalls, the short vertical walls under sloped ceilings, that were insulated with R-13 batts and never covered with rigid sheathing. The warning sign is a bonus room that reaches 85°F by 3 PM even with the door closed-a seasonal pattern covered in our Seasonal Insulation Care for Converse: Year-Round Homeowner’s Guide. The batts have fallen, compressed, or been displaced by wind washing. The repair is reinstallation with proper fastening, rigid sheathing on the attic side, and air sealing at all edges.
These patterns are so consistent in Converse that we can often predict the problem from the street address and construction year. The value of recognition is targeting: a homeowner who knows they have a balloon-framed interior wall won’t waste money on window replacement.
Thermal Imaging: What It Shows, What It Misses, and When It Lies
Thermal imaging cameras produce compelling images: glowing red walls, blue cold spots, dramatic gradients that seem to map every problem. The reality is more limited, and misinterpreted thermal images have led many Converse homeowners to unnecessary repairs.
A thermal camera measures surface temperature, not insulation R-value, not air leakage rate, not moisture content. It translates surface temperature into color, with the color scale set by the camera operator. A skilled operator chooses a narrow temperature span to maximize contrast; an unskilled operator chooses a wide span that makes minor variations disappear. The same wall can look dramatically different depending on camera settings.
The diagnostic validity of thermal imaging depends on the temperature differential between indoors and outdoors. The industry standard is 18°F minimum; we prefer 25°F for reliable interpretation. In Converse, this means thermal imaging is reliable on January mornings below 45°F with indoor heating at 70°F, or August afternoons above 95°F with cooling at 72°F. During shoulder seasons, March through May and October through November, thermal images are often misleading. A wall that shows uniform color at 65°F outdoor may reveal major insulation gaps at 95°F outdoor, not because the problem changed but because the driving force wasn’t present.
What thermal imaging shows well:
- Missing or displaced attic insulation, visible as warm ceiling patches in summer
- Thermal bridging through studs or rafters, visible as vertical or horizontal stripes
- Large air leaks, visible as irregular, finger-like patterns
- Moisture intrusion, visible as evaporative cooling patterns (requires confirmation with moisture meter)
What thermal imaging misses:
- Insulation that is present but compressed below labeled R-value
- Air leaks in locations with no surface temperature differential, such as leaks between conditioned spaces
- Small penetrations, electrical boxes, and narrow gaps that don’t create detectable surface temperature change
- Problems behind reflective surfaces, including some radiant barriers installed with the reflective side facing the wrong direction
What thermal imaging lies about:
- Recent solar heating of exterior walls can create false warm patterns that persist for hours
- Interior heat sources, recessed lights, electronics, even body heat during the scan, create artifacts
- Reflective surfaces, including glossy paint and some window films, reflect thermal radiation from other surfaces
- Carpet and furniture mask floor temperature problems
We include thermal imaging in our home energy audits when conditions permit, but we never rely on it as the sole diagnostic. The blower-door test provides the integrated air leakage number; the IR thermometer provides spot confirmation; thermal imaging provides the visual documentation that helps homeowners understand what we found. All three together, plus the documented photo record we deliver on every visit, build a complete picture.
For homeowners considering a thermal imaging service, ask: what was the outdoor temperature during the scan? What was the indoor setpoint? What temperature span was used? A contractor who cannot answer these questions is producing art, not diagnostics.
Self-Triage: What You Can Fix, What Requires a Contractor, What Needs a Blower-Door Test
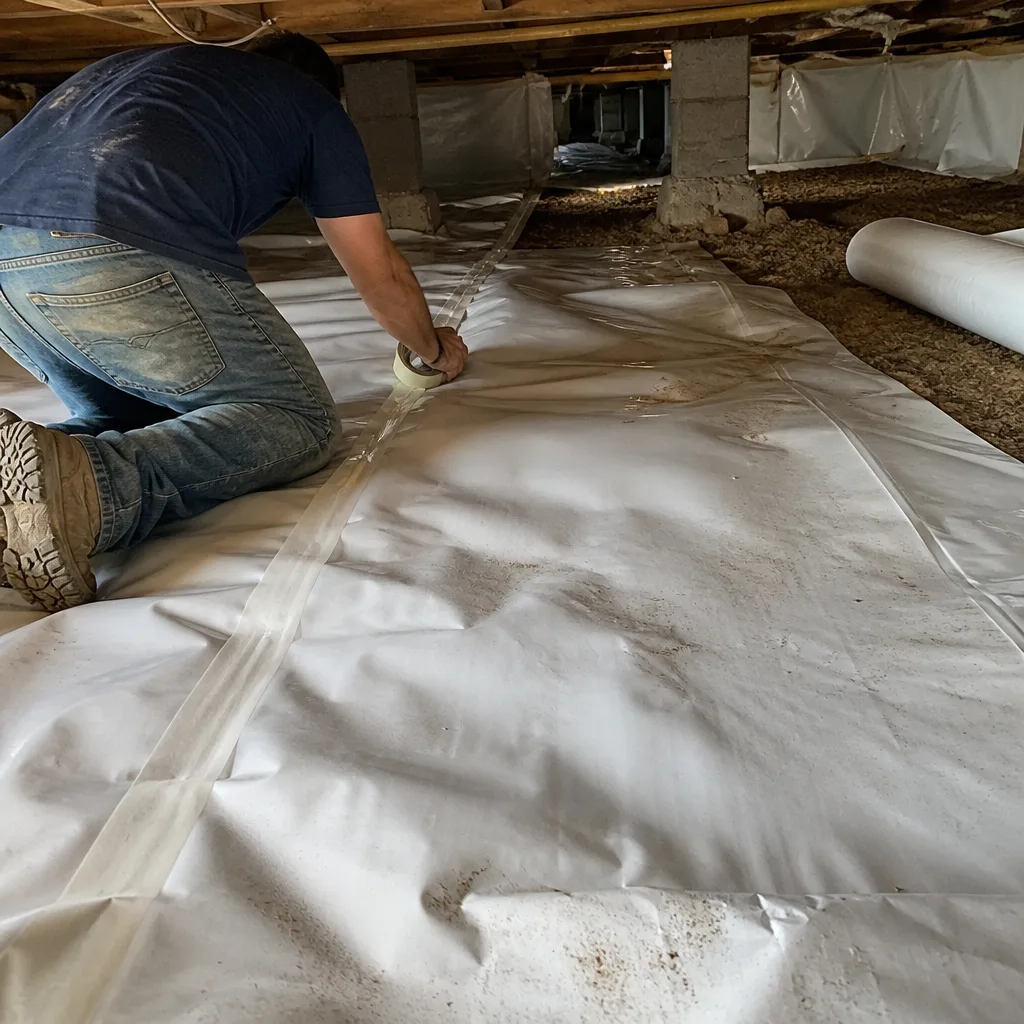
Not every warning sign requires professional intervention. The key is matching the symptom to the appropriate response level, and knowing when DIY repair will mask a deeper problem rather than solve it.
Homeowner-level repairs: weatherstripping and caulk
These address air leaks at operable components, not insulation deficiencies. Replace worn weatherstripping at exterior doors, including the often-neglected door bottom sweep. Caulk visible gaps at window frames where frame meets siding, using paintable acrylic latex for narrow gaps and backer rod with sealant for gaps over ¼ inch. Foam sealant in a can addresses larger penetrations where plumbing or electrical lines enter the building envelope.
The limit: these repairs treat symptoms at the perimeter. They will not address attic air leaks, wall cavity convection, or subfloor infiltration. A homeowner who spends a weekend caulking and still sees kWh/CDD drift needs to stop and test.
Contractor-level repairs: insulation addition, replacement, and targeted air sealing
These require equipment and access that most homeowners don’t have. Blown attic insulation to full depth, dense-pack wall insulation, crawl space encapsulation, and duct sealing all fall in this category. The critical distinction: any insulation contractor who proposes adding material without first measuring air leakage is skipping a step. Under Haven Standard Clause 1, every job begins with a written price based on a defined scope, and for attic work that scope includes blower-door testing before and after.
Blower-door-required before any materials: complex or ambiguous symptoms
Call for a blower-door test when:
- You’ve done homeowner-level sealing and kWh/CDD is still rising
- One room is dramatically different from adjacent rooms with the same sun exposure
- You smell attic or crawl space odors in living spaces, indicating pressure-driven air movement
- Your home was built 1980-2005 and has never had a blower-door test
- You’re considering spray foam insulation and need to verify that air sealing targets will be met
- You’re responding to visible warning signs but can’t identify the source with an IR thermometer
The test takes 60-90 minutes in a typical Converse home. You receive the ACH50 number, a prioritized list of leakage locations identified with a smoke pencil or theatrical fog, and a written scope for remediation if you choose to proceed. On jobs we complete, the before-and-after blower-door numbers are published in your documented photo record so you can verify the performance change.
Spray Foam Insulation in Converse requires particular diagnostic rigor because spray foam is permanent. A homeowner who sprays over an unsealed top plate has locked in a problem that will cost significantly more to correct later. We use Demilec and Icynene products where spray foam is the right solution, but only after the blower-door test confirms that the remaining leakage locations are appropriate for foam treatment.
Common Mistakes to Avoid
- Comparing raw utility bills month to month without normalizing for weather. A July bill that’s higher than June doesn’t indicate degradation; July has more cooling degree days. Track kWh/CDD, not dollars or raw kWh.
- Adding attic insulation without air sealing first. This is the most common error we correct in Converse. Blown fiberglass over a leaky attic floor acts as a filter, catching dirt and creating dark streaks that homeowners mistake for mold. The insulation performs poorly, and the air leaks continue.
- Replacing windows before testing the building envelope. Window replacement has long payback periods and addresses only the glass and frame, not the rough opening leaks that often dominate actual heat loss. Test first, replace selectively.
- Trusting thermal imaging from an untrained operator during marginal conditions. A thermal camera in the hands of a salesperson during a 75°F October afternoon produces pretty pictures and bad decisions. Demand the measurement conditions and the temperature span.
- Assuming new construction is tight. Converse’s 2005-2015 homes were built under code that required visual inspection of sealing, not blower-door verification. We’ve tested homes from 2012 that read 9 ACH50, well above the 7 ACH50 that would have triggered correction if tested.
- Ignoring the pier-and-beam addition. The temperature step at the original-to-addition threshold is so common in Converse that some homeowners think it’s normal. It is not. The crawl space beneath that addition is an unconditioned zone conducting heat year-round.
- Accepting “R-value” as the only performance metric. R-value is measured in a laboratory at 75°F with no air movement. In a vented Converse attic at 140°F summer peak, with wind washing and thermal bridging, the effective R-value can be 30-50% below the labeled number. Ask contractors about effective R-value and air sealing integration, not just bag count.
When to Call a Professional
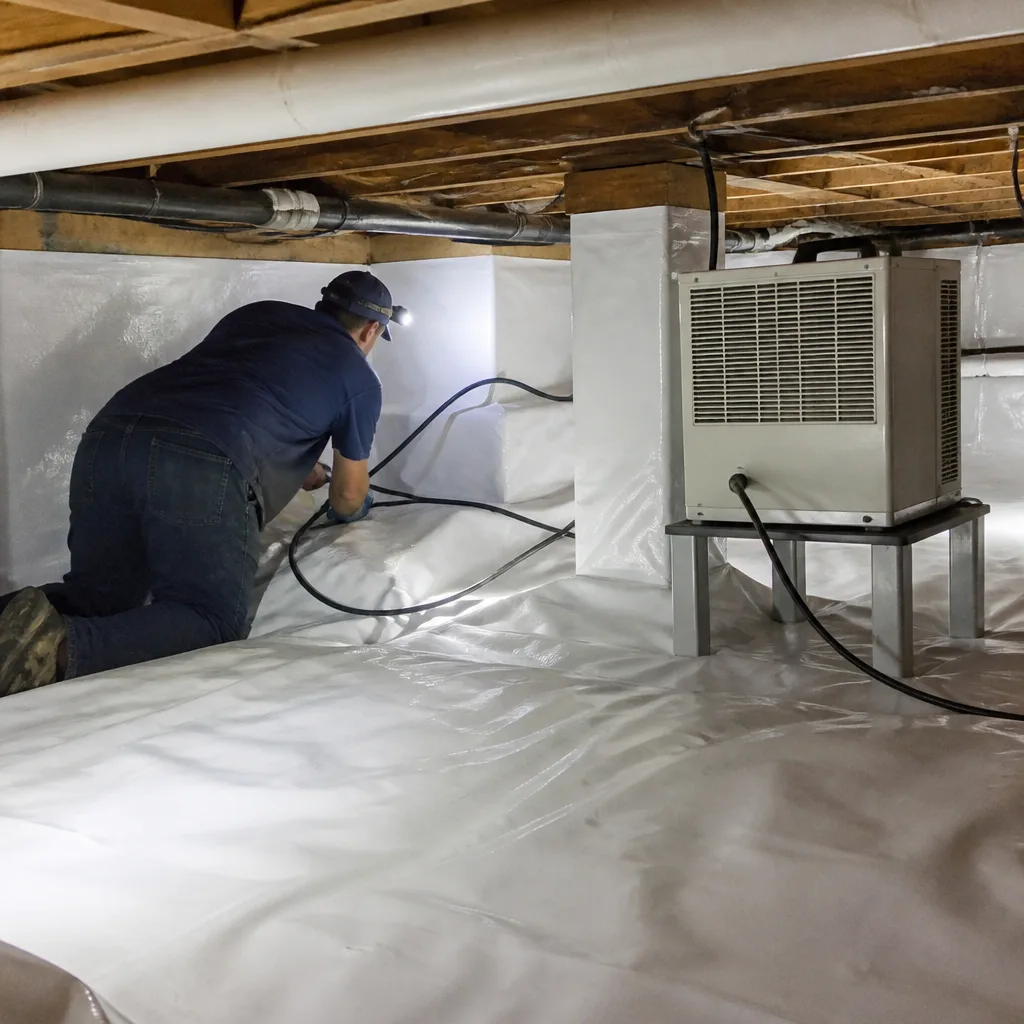
Call when your kWh/CDD ratio has risen for two consecutive years, when your IR thermometer shows surface temperatures more than 5°F below ambient, or when you’ve completed homeowner-level sealing and symptoms persist. Call when your home was built 1980-2005 and has never had a blower-door test, or when you’re considering any insulation investment over $1,000 and want to verify that the money targets the actual problem.
Topside Attic Insulation Converse offers free estimates in Converse. Every estimate includes a blower-door test on applicable jobs, a written scope with flat pricing before any work starts, and a documented photo record when the crew leaves. Call (830) 420-0953 to schedule. We’ve sealed and insulated over 9,000 homes since 2016, every one with a written price before work started and a documented record when we left. For more guides & resources on home performance, visit our blog.
Frequently Asked Questions
A standalone blower-door test for a Converse homeowner typically runs $250-$400, though we include it at no additional charge with every estimate for attic or crawl space work. The test takes 60-90 minutes and you receive the ACH50 number, a prioritized leak list, and a written scope for remediation if you choose to proceed. Call (830) 420-0953 to schedule - estimates are free.
You can identify many warning signs yourself with an IR thermometer, utility bill tracking, and visual attic inspection. What you cannot do is measure integrated air leakage or safely assess certain conditions, including vermiculite insulation that may contain asbestos, active rodent infestations in attics, or electrical hazards near insulation. For these, a professional inspection is required. If your self-assessment reveals ambiguous symptoms, a blower-door test converts suspicion to documented fact.
Hot upstairs rooms in Converse typically indicate one of three conditions: insulation compressed or displaced at the eaves, where attic floor meets exterior wall; air leaks at top plates allowing attic air to drop into wall cavities; or ductwork in the attic gaining heat before reaching the registers. An IR thermometer will show whether the ceiling or walls are the heat source. A blower-door test identifies whether the problem is leakage or insulation deficiency. We’ve found that in Converse’s 1990s two-stories, the most common cause is a combination: R-30 blown insulation settled to R-15 at the eaves, plus unsealed top plates creating a chimney effect in the exterior walls.
Spray foam, including products from Icynene and Demilec that we install, is worth the premium when the building envelope is complex or when conditioned attic space is the goal. For simple vented attics with rectangular footprints, blown fiberglass or cellulose at proper depth with thorough air sealing often achieves the same performance at lower cost. The decision requires a blower-door test and a written scope comparing options. Under Haven Standard, we provide both paths with flat pricing and let the numbers guide the choice.
Blown fiberglass and cellulose in a vented Converse attic maintain labeled performance for 20-30 years if installed at proper depth and not disturbed. In practice, we see degradation faster: wind washing reduces effective R-value within 5-10 years, compression from storage or maintenance traffic reduces thickness, and moisture from roof leaks or bathroom vent discharge degrades cellulose. The warning sign is rising kWh/CDD, not visible deterioration. We recommend reassessment every 10 years, or sooner if utility trends shift.
Our free estimate includes blower-door testing, thermal imaging when conditions permit, and a written scope with flat pricing for recommended work. A full home energy audit adds combustion safety testing, duct leakage measurement with a duct blaster, and a written report suitable for utility rebate programs or mortgage energy improvement financing. Most Converse homeowners need the estimate; the audit is appropriate for complex homes, rebate qualification, or pre-purchase documentation. Both include the 365-Day Done Right Promise and a documented photo record.
Insulation reduces heat gain but does not directly control humidity. High summer humidity in Converse homes typically indicates air leaks bringing in outdoor moisture, oversized air conditioning that short-cycles without dehumidifying, or missing vapor barriers in crawl spaces. Air sealing often reduces humidity more than insulation addition by stopping the infiltration of 80°F dew point outdoor air. If your home reads above 60% relative humidity consistently, we test for leakage sources before recommending any insulation investment.
The Bottom Line
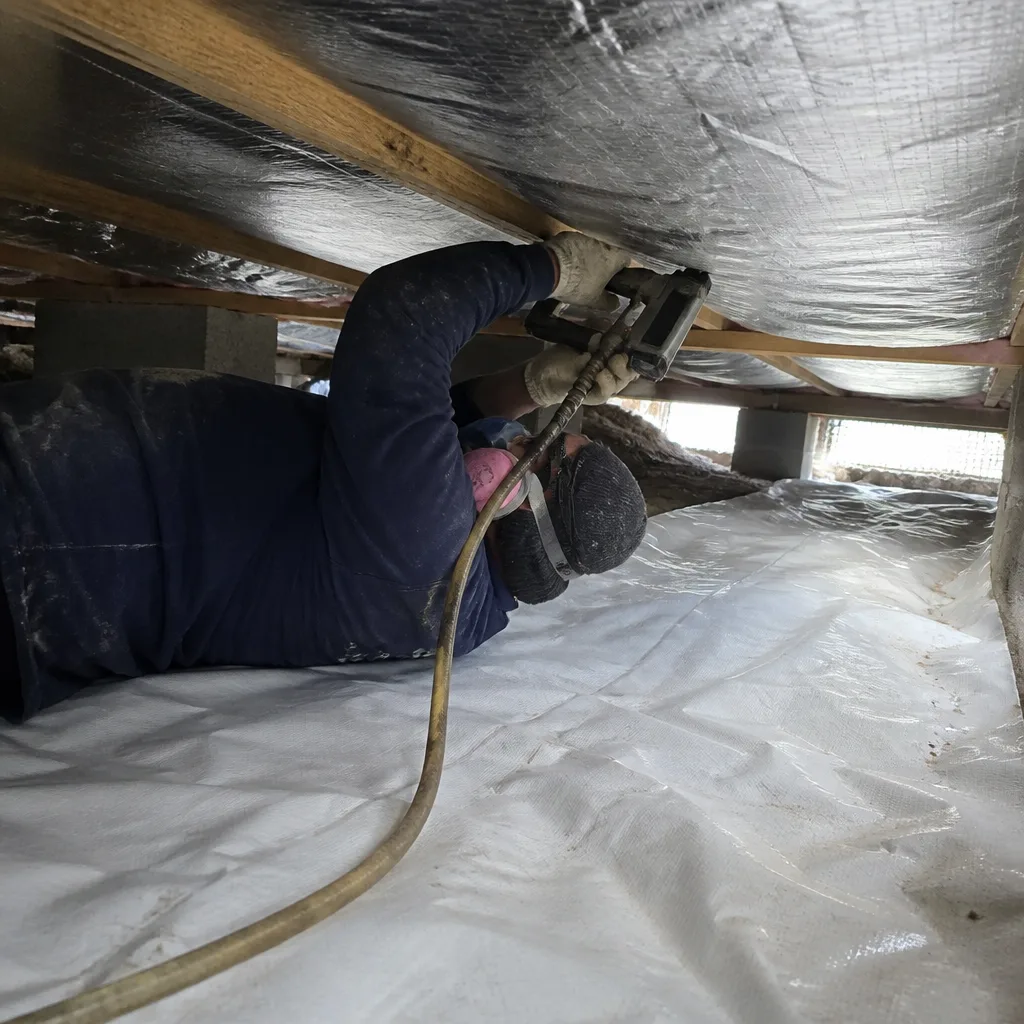
Insulation warning signs in Converse homes are measurable before they are visible. Track your kWh per cooling degree day. Map surface temperatures with an IR thermometer. Separate air leak symptoms from insulation deficiency using a blower-door test. Know the specific failure patterns in your home’s construction vintage. And never add insulation over an unsealed envelope. The homeowners who make smart repair decisions are those who walk away with numbers, not descriptions. Under Haven Standard, every job we complete begins with a written price and ends with documented proof of performance, because evidence outlasts promises.
Written by Wes Okafor, Owner at Topside Attic Insulation Converse, serving Converse since 2016.